Wednesday, July 15, 2015

Dove the Dear and Winifred (Wini) the mini Woodpecker

I'm a little late to posting last month's amigurumi.  It was a challenging one! but its done, and so is this current months amigurumi.  They are best friends and both have names that mean peace.

Dove the Deer: 
For dove, I wanted to have the body and neck one piece.  This proved to be challenging and annoying, but I figured it out.  
original sketch
neck and body

I also wanted the back legs to have a bend and thigh, instead of a straight leg.  And of course I had to make that white fluffy tail!
I was rather pleased with how Dove turned out, though it took a lot longer than I anticipated.  


Winifred (Wini) the Mini Woodpecker:

    Wini is actually made to scale with Dove.
   Other than the balloon I made with my previous Amigurumi (Budd), I had not done a miniature amigurumi. It took some getting used to, but I didn't find it to difficult.  The hardest part was sewing the wings and beak on, as the rest was done in one piece.  


Inspiration for Wini (image found on Pinterest)

Inspiration for Wini (image found on Pinterest)

  
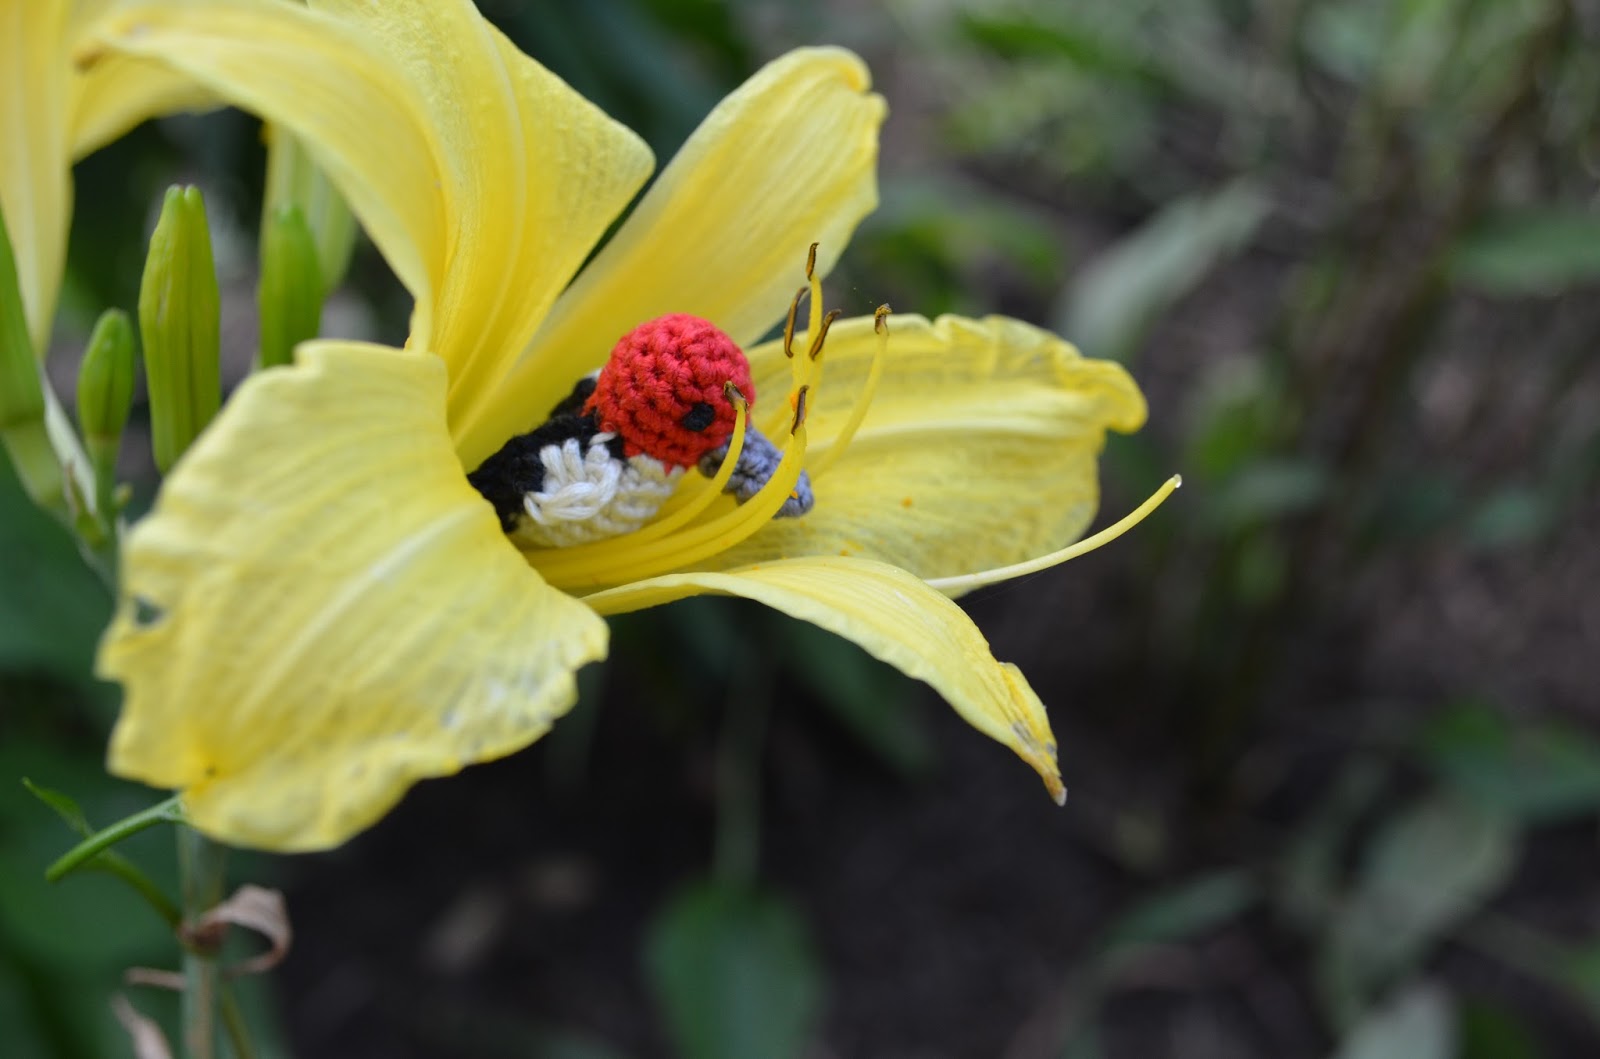
Mini Wini is so tiny, she fit inside this flower!


   I loved working on these two amigurumis and trying to make them compliment one another.  

   Keep your eyes out for my next complimenting amigurumis, to be revealed sometime in the next two months! 

Thursday, May 14, 2015

Budd the Beaver

     It's that time again. Time to reveal this month's amigurumi! This month's challenge was a beaver (April 20th - May 20th).  I named him Budd in remembrance of my mom and her best friend, who always said they were 'best buds'.  As this month's amigurumi fell over mother's day, my mom's birthday (May 20th), and her 'best bud's' birthday (May 14th); it was only fitting to dedicate my Amigurumi to her.  That is also why he is holding a turquoise balloon (her favorite color).
     As I thought about how I wanted to design Budd, I knew I wanted him to be cuddly.  
image found on pinterest 

image found on pinterest 
my rough sketches for planning construction.

I loved how fluffy the baby beaver looked, so I decided to use my fluffy yarn (Bernat Pipsqueak in Chocolate).  For the tail, ears, hands, and feet; I used my Red Heart Super Saver yarn in Cafe Latte.  This ended up being an exact match to the Pipsqueak yarn! I used some black crochet thread and weaved it into the tail to create that stereotype cartoon beaver tail.
For the nose and mouth, I actually used red heart super saver in black.  This was so the thread would not get lost in the fluff of the pipsqueak yarn. I cut small ovals in some white felt and slipped the eyes in the center; this created a whites of the eye look. 
    Budd is definitely cuddly! and he looks so happy :)


  Here is Budd meeting the gang.  4 down 8 to go! 

Balloon Pattern:
 materials needed - 
-Aunt Lydias crochet thread classic 10 (any color)
-20 gauge jewelry wire
-1.9 mm hook (I used a Boye 5)

Row 1: ch. 2, sc 6 in first ch. (6sts)
Row 2: Inc around (12sts)
Row 3: *sc 1, inc* rep 6x (18sts)
Row 4: *sc 2, inc* rep 6x (24sts)
Row 5: *sc 3, inc* rep 6x (30sts)
Row 6: *sc 4, inc* rep 6x (36sts)
Row 7: *sc 5, inc* rep 6x (42sts)
Row 8-12: sc around (42sts)
Row 13: *dec, sc 19* rep one time (40sts)
Row 14: sc around (40sts)
Row 15: *2 sc, dec* rep 10x (30sts)
Row 16-17: sc around (30sts)
Row 18: *1 sc, dec* rep 10x (20sts)
Row 19-20: sc around (20sts)
Row 21: dec around (10 sts)
Row 22: sc around (10sts)
Row 23: inc around (20sts)
fasten off

cut 4-5 inches of wire and bend around bottom of balloon.  To secure, push through paw and make a small loop below and above paw.
               

Sunday, April 19, 2015

Felix the Falcon

    It has been a busy month for me! I finished Felix on my birthday, but just have not found the time to blog about him.  I tried a lot of new techniques with this little guy, and I am so proud with the final product!

     As I started planning for my falcon, I looked up some pictures.  I ended up modeling Felix as a baby Kestrel.


 http://www.montgomeryvets.co.uk/news_15795.html

http://cuteanimalworld.blogspot.com/2013/09/kestrel-baby.html


    The next step was to draw out some basic shapes to help decide the construction.
      I then looked for some yarn to work with and settled on this awesome feathery yarn! I wanted my falcon to be fluffy, I had learned from a previous pattern, that the 'wrong side' of amigurumi tends to be fluffier.  So I actually constructed my falcon inside out.  It is important to work with a stitch marker while using fluffy yarn! It is hard to count your stitches, since it is so fluffy.  Also don't worry about perfection, the fluffiness will cover some mistakes for you.
 

      Using a 3.5 mm hook; I decided to construct the body and head as one piece.  I started with the head and then inc to make the body.  I also constructed him with a flat bottom so he wouldn't roll around.
     I didn't want the eyes to get lost in the yarn.  So I cut out some felt, to be a little bigger than the eyes.  I then slit a tiny hole in the center of the felt; and inserted the eye before  putting it on the head.  I was so happy how this turned out! I also added some black thread around the eyes for the trademark look of a Kestrel.  However, the yarn sort of obscured this.  For the curved beak, I  used a 2.00mm hook.  To create the curve I slip stitch for the underside, and a few double crochet for the top side.  
    
I then constructed the wings and tail and sewed them onto the body. I was going to try to make feet... but I sort of liked the pudgy look for Felix.


    Since this month was my birthday month, and I had already made a heart for Otis, and a four-leaf clover for Lucky; I decided to make Felix a birthday hat! 
Birthday Hat Pattern: (using a 3.5mm hook)

row 1: ch 2, single crochet 5 in first ch. (5sts)
row2: single crochet around. (5sts)
row3: Increase in each stitch. (10sts)
row4: single crochet around (10sts)
row5: single crochet 1, Increase.  repeat around (15sts)
row6: single crochet around (15sts)
row7: single crochet in next 2 sts, Increase. Repeat around (20sts)
row8 - 9: single crochet around (29sts)
Fasten off
*Pom pom: take a fork and wrap your choice of yarn around the spokes.  tie some yarn (tightly) in the center, creating a bow. slide off fork and cut ends.  Trim until satisfied with shape and size.  attach to top of cone.


The gang so far! Lucky, Felix, and Otis

Wednesday, March 11, 2015

Button hair pins


    This is something new I've been working on.  My Grandma gave me a gallon bag full or vintage buttons.  I've had them for a while now, and didn't know what to do with them.  Thanks to Pinterest, there are awesome ideas to discover, including this one for old buttons. They look so cute in the girls hair, and I can't wait to work on some more! They are so simple and easy, and quick to make. 

Wednesday, March 4, 2015

Lucky the Wolf


    February 19th - March 20th marks the month of the wolf! I had so much fun making this little guy!
I named him Lucky since he falls under St. Patrick's Day.  When I start planning my Amigurumi, I try my best to come up with an original sketch.
 I got the idea for the body, when I crochet this elephant (pattern found here).
This is my modification to the Elephant underbelly
     As I worked, I used a dog wire brush, to make the yarn appear furrier.

Here he is with Otis, the otter I designed for last month. 


4 Leaf Clover
Ch 12, sl st in 7th ch from hook.
*ch7, sl st in same foundation ch as before* repeat 2 more times.
FO and weave in ends